“Mastering Video Editing: A Complete Guide to Professional Color Grading and Correction”

Video editing has become an essential skill in today’s digital world, with creators constantly seeking ways to elevate the quality of their content. Among the various techniques used to enhance video quality, color grading and correction stand out as critical components for achieving professional results. These processes do more than just tweak brightness or contrast—they transform the visual experience by enhancing mood, style, and storytelling. In this guide, we’ll delve into the intricacies of advanced video editing, focusing on color grading and correction, their importance, and techniques to master them for cinematic results.
Understanding Color Grading and Color Correction
While often used interchangeably, color grading and correction serve distinct purposes in video editing:
- Color Correction involves adjusting the video to ensure that colors look natural and consistent across all scenes. The goal is to fix any color imbalances caused by lighting conditions, camera settings, or lens variations, making the footage appear as true-to-life as possible.
- Color Grading goes a step further by adding a creative layer to the video. This process adjusts the color palette, contrast, and tones to create a specific atmosphere or emotional response. It’s not about making the footage look “real” but rather conveying the desired mood and stylistic flair.
Why Are Color Grading and Correction Crucial?
Implementing effective color grading and correction techniques can significantly elevate the quality of a video, making it more engaging and aesthetically pleasing. Here’s why these techniques are indispensable:
1. Establishes a Consistent Look
Lighting conditions and camera settings often vary between different shots, especially in outdoor or multi-camera setups. Color correction ensures uniformity across all scenes, giving the video a seamless and cohesive appearance.
2. Enhances Storytelling and Emotional Impact
Colors have the power to evoke emotions and influence the way viewers perceive a scene. By manipulating color tones and contrast, you can direct the audience’s emotions and highlight specific elements that are crucial to the story.
3. Achieves a Cinematic Quality
Color grading can add a film-like quality to your video, creating depth and mood. It helps to define the genre or theme, whether it’s the warm tones of a romantic sunset or the cool, desaturated look of a suspenseful thriller. This cinematic touch can make even simple footage appear more polished and professional.
Step-by-Step Guide to Color Grading and Correction
Mastering the process of color grading and correction involves a systematic approach to achieve the desired visual outcome. Here’s how to go about it:
Step 1: Calibrate Your Editing Monitor
For accurate color representation, your monitor must be properly calibrated. Uncalibrated monitors may display colors incorrectly, leading to poor editing decisions. Calibration tools help ensure that colors are displayed as they truly are, allowing you to make precise adjustments.
Step 2: Perform Basic Color Correction
The first step in the editing process is to correct the footage for any inconsistencies. Focus on the following adjustments:
- White Balance: Ensure the color temperature is accurate so that whites appear neutral without any blue or yellow tint.
- Exposure Levels: Adjust brightness to avoid overexposure (too bright) or underexposure (too dark), ensuring details are visible in both shadows and highlights.
- Contrast and Saturation: Balance the contrast to make the image pop and adjust saturation to avoid dullness or excessive color intensity.
Step 3: Use Video Scopes for Precision
Video scopes, such as the waveform monitor, vectorscope, and RGB parade, provide a visual representation of various aspects of the footage:
- Waveform Monitor: Measures brightness levels across the image to help balance exposure.
- Vectorscope: Shows the hue and saturation of colors, useful for achieving accurate skin tones.
- RGB Parade: Breaks down the red, green, and blue channels separately, making it easier to detect and correct color imbalances.
Step 4: Creative Color Grading
Once the footage is corrected, you can start with color grading to give it a distinctive style. Here are some techniques to achieve specific looks:
- Warm and Inviting Look: Increase the yellow and orange hues to create a cozy atmosphere, ideal for scenes shot during sunrise or sunset.
- Cool and Dramatic Tone: Enhance blue and cyan tones to convey a somber or mysterious mood, suitable for night scenes or dramatic narratives.
- Vintage or Desaturated Style: Lower the saturation and add a slight yellow tint for an old-film effect, often used in flashback scenes or period films.
Step 5: Applying LUTs for a Quick Style
Look-Up Tables (LUTs) are pre-configured color settings that can be applied to your footage to achieve specific grading styles quickly. They are great starting points, but for the best results, always make additional manual adjustments to match the look with the content and atmosphere.
Step 6: Secondary Color Corrections
This advanced step allows for refining specific areas or objects within the frame. For example:
- Skin Tone Adjustment: Fine-tune skin colors separately to ensure a natural appearance.
- Isolate Colors: Highlight or change the hue of a particular color, such as making a red car appear blue.
- Selective Vignetting: Darken the edges of the frame to draw focus to the center of the scene.
Essential Software for Color Grading and Correction
The choice of software can greatly influence the ease and quality of your color grading work. Here are some of the top tools used by professional video editors:
1. DaVinci Resolve
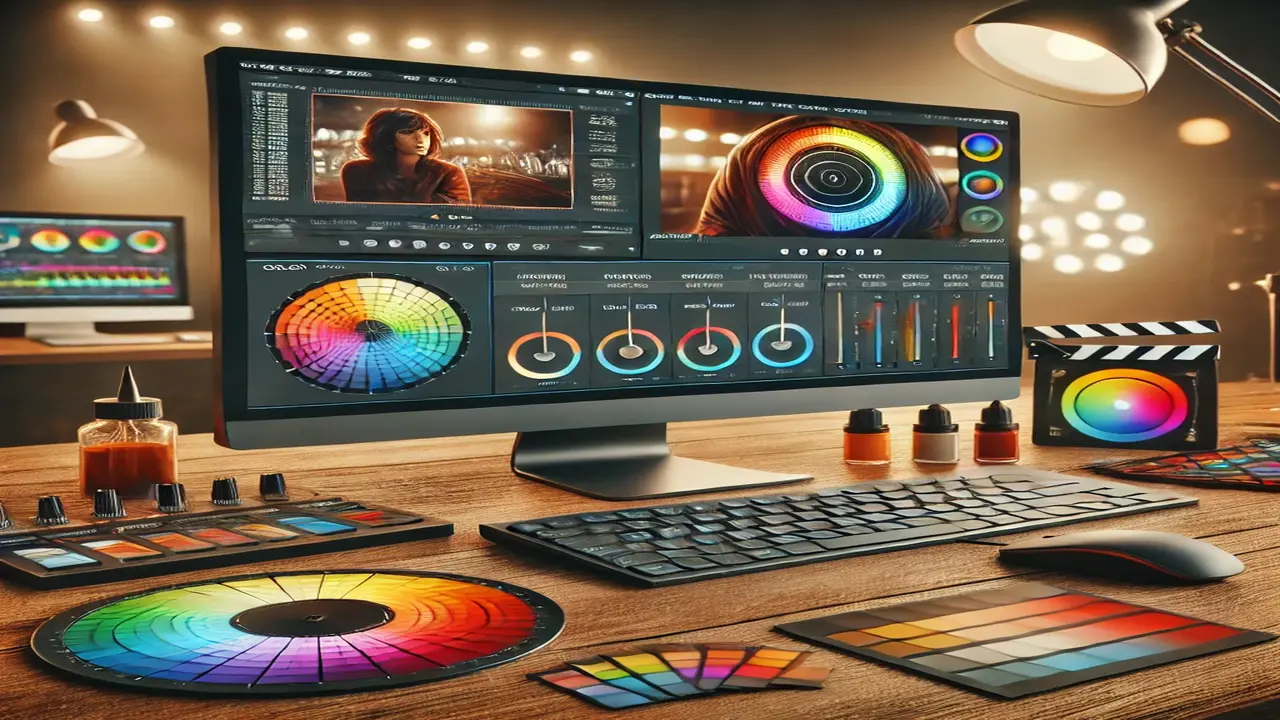
A favorite among filmmakers, DaVinci Resolve offers comprehensive color grading tools with a user-friendly interface. It features color wheels, curves, and sophisticated masking options for precise grading.
2. Adobe Premiere Pro
With its integrated Lumetri Color panel, Adobe Premiere Pro provides a robust set of tools for color correction and grading, including LUT support, RGB curves, and keyframing options for dynamic adjustments.
3. Final Cut Pro
Final Cut Pro is another powerful option, particularly for Mac users. Its color grading tools include advanced color wheels, keyframes, and real-time scopes for detailed adjustments.
Practical Tips for Effective Color Grading
For those looking to refine their skills in color grading, consider these practical tips:
1. Understand the Basics of Color Theory
Knowledge of color theory can help you make informed decisions when grading footage. Familiarize yourself with concepts like complementary colors, color harmony, and the emotional connotations associated with different hues.
2. Study Popular Films
Watching professional films can give you a sense of how colors are used to convey different moods and styles. Try to replicate some of the color grades you admire to better understand the process and techniques involved.
3. Layer Your Color Grades
Instead of applying all adjustments in one go, use multiple layers for different grading aspects, such as shadows, midtones, and highlights. This approach offers more control and flexibility in refining the final look.
4. Seek Feedback and Iterate
Share your color-graded footage with peers or mentors to gain feedback. Sometimes, what looks good on your screen may not have the same effect on others. Constructive criticism can help you improve your grading skills over time.
Conclusion
Advanced video editing techniques like color grading and correction are vital for transforming raw footage into a polished, cinematic piece. By mastering these processes, you can enhance the storytelling power of your videos and create visually captivating content that stands out. Whether you are working on a feature film, a short video, or online content, learning to effectively manipulate colors will take your video editing skills to a professional level.


