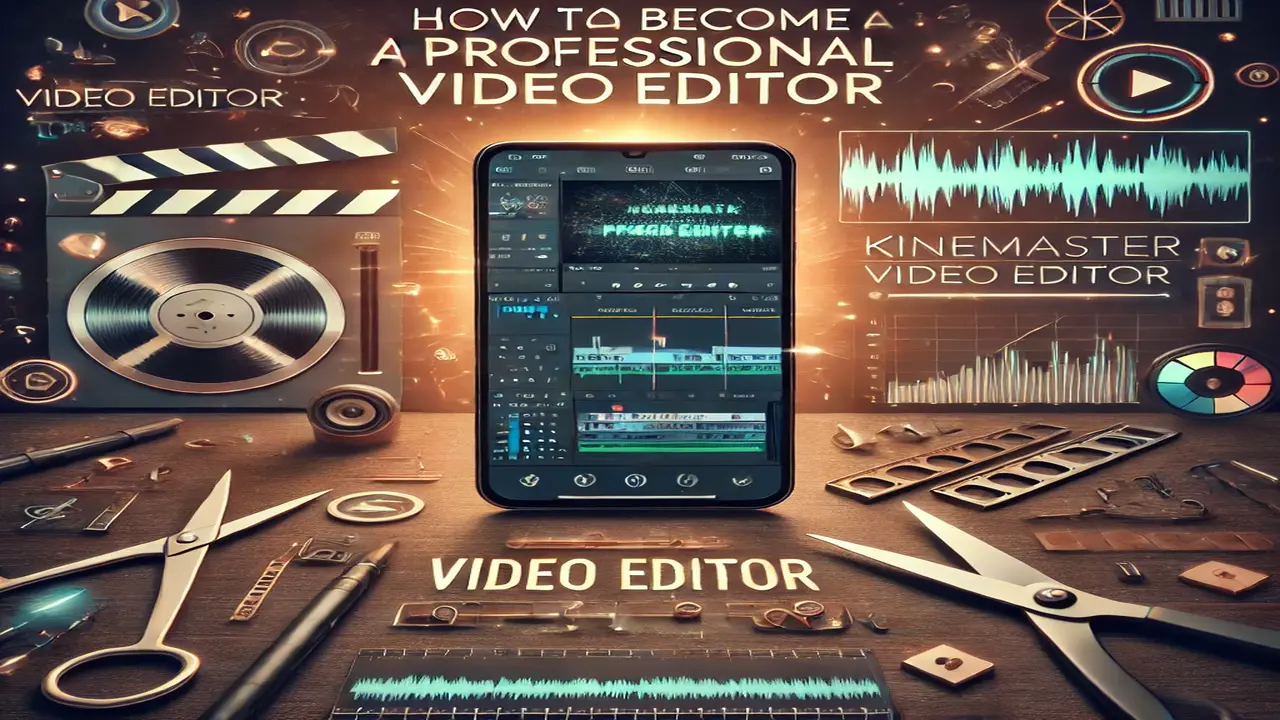
How to Become a Professional Video Editor Using KineMaster Video Editor

In the digital age, video editing has emerged as one of the most in-demand skills for content creation. Whether it’s for YouTube, social media, or professional filmmaking, video editing is a valuable asset that can help you stand out. KineMaster, a mobile-friendly video editing software, offers a robust set of features that make it a popular choice for beginners and professionals alike. This article will guide you through the steps to become a professional video editor using KineMaster and cover key tips to elevate your editing skills to a professional level.
Why Choose KineMaster for Video Editing?
KineMaster is a versatile and user-friendly mobile app that supports multiple layers of video, audio, images, and text. Its intuitive interface allows you to cut, splice, and enhance videos with ease. Here’s why it’s an excellent choice for budding video editors:
- Mobile Accessibility: You can edit on-the-go from your smartphone or tablet, making it convenient for travel vlogs, social media content, or impromptu video editing.
- Professional Features: KineMaster supports features like chroma key, blending modes, transitions, voice-overs, and more, which are essential for professional-quality videos.
- Cost-Effective: Compared to desktop software, KineMaster is more affordable, and the free version is sufficient for many editing tasks.
- User-Friendly Interface: Its straightforward interface makes it ideal for beginners who want to transition into professional editing.
Step 1: Get Familiar with the KineMaster Interface
To become a proficient video editor, you need to understand the editing tools available in KineMaster. Here’s a brief overview:
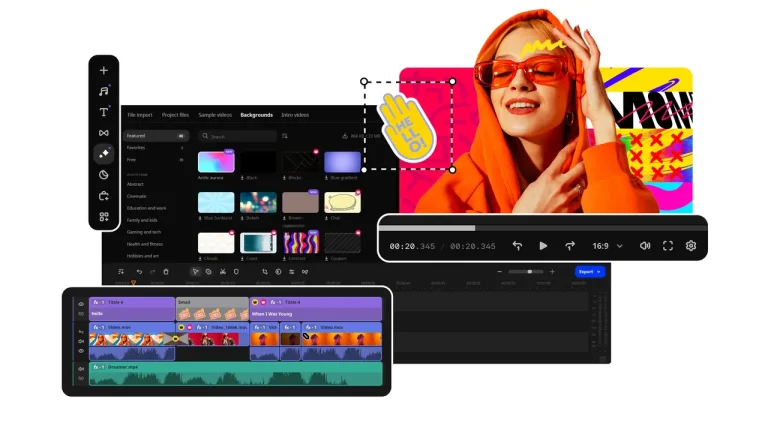
- Timeline: This is where you can drag and drop your video, audio, and image files. You can layer clips, adjust their length, and arrange the order.
- Media Panel: Located at the top-right corner, the media panel allows you to import video clips, photos, music, and other files.
- Edit Tools: Below the timeline, you’ll find tools for trimming, cutting, adjusting speed, applying effects, and adding audio.
- Preview Screen: On the upper-left, the preview screen lets you see changes in real-time as you edit your video.
Spending time navigating these areas and exploring their functions will help you get comfortable with KineMaster’s workflow.
Step 2: Master Basic Video Editing Techniques
Start with basic editing skills, which lay the foundation for more advanced techniques. Here are some essential skills to develop:
- Cutting and Trimming: Cut out unnecessary parts of the video to keep it concise and engaging. You can use the “Split” tool to divide clips and remove unwanted sections.
- Adding Transitions: Smooth transitions between scenes help the video flow better. KineMaster offers a variety of transition effects, such as fades, wipes, and slides.
- Adjusting Speed: Speeding up or slowing down certain clips can add dramatic effect. Use the speed control to highlight key moments or create a slow-motion effect.
- Applying Filters and Effects: Filters can enhance the visual quality, while effects like blur or mosaic can draw attention to specific areas of the video.
- Layering Multiple Clips: With KineMaster, you can layer several videos on the timeline, allowing for picture-in-picture effects, overlays, or split screens.
Step 3: Use Advanced Editing Features to Enhance Your Videos
Once you have mastered the basics, delve into KineMaster’s advanced features to make your videos more polished and professional.
1. Chroma Key for Green Screen Effects
The chroma key function allows you to remove the background of a video and replace it with another image or video. This is often used to create professional-looking green screen effects.
- Record your subject in front of a green or blue background.
- Import the video to KineMaster, and select the “Chroma Key” option.
- Use the sliders to adjust the background removal to perfection, and then add a new background behind your subject.
2. Audio Enhancement
Good audio quality is just as important as video quality. KineMaster has various tools to improve sound, such as:
- Voice-overs: Record voice-overs directly in the app for narrations or commentary.
- Background Music: Add music to complement the video’s mood, but ensure it doesn’t overpower dialogue.
- Audio Filters and Effects: Adjust audio levels, apply reverb, and fade in or fade out music to enhance the listening experience.
3. Text and Titles
Adding text can make your videos more informative and visually appealing. Use text overlays for:
- Titles: Introduce the video topic at the beginning.
- Subtitles: Make your content more accessible to a wider audience.
- Lower Thirds: Display additional information, like names or designations, at the bottom of the screen.
KineMaster’s text customization options allow you to adjust fonts, colors, shadows, and animations, giving your video a professional touch.
Step 4: Exporting Your Video in High Quality
When you’re done editing, it’s crucial to export the video in the best quality possible. Here’s how you can do that in KineMaster:
- Select the export icon.
- Choose the resolution and frame rate. For most professional purposes, 1080p at 30fps is a good balance between quality and file size.
- Adjust the bitrate. Higher bitrates produce better quality but result in larger file sizes.
- Export and save the video to your device.
Step 5: Keep Practicing and Stay Updated
Like any skill, becoming a professional video editor requires practice. Here’s how you can keep improving:
- Watch Tutorials: Learn new techniques by watching tutorials on YouTube or KineMaster’s official resources.
- Join Editing Communities: Forums, social media groups, and online communities can provide inspiration and valuable feedback.
- Practice with Different Projects: Edit various types of videos, such as vlogs, short films, or promotional content, to diversify your skills.
- Update KineMaster Regularly: Ensure you’re always using the latest version of KineMaster to take advantage of new features and improvements.
Tips for Transitioning to Professional Video Editing
While using KineMaster is a great starting point, there are some additional steps to take to move from an amateur to a professional editor:
- Build a Portfolio: Start by working on personal projects or editing videos for friends and family. As you gain experience, create a portfolio showcasing your best work.
- Learn Color Grading: Mastering color grading will help you give your videos a cinematic look. KineMaster offers basic tools, but learning color grading software like Adobe Premiere Pro or DaVinci Resolve can be beneficial.
- Understand Storytelling: Video editing is not just about technical skills; it’s about telling a story. Study how cuts, transitions, and effects can influence the narrative.
- Invest in Equipment: As you progress, consider investing in higher-quality audio equipment, cameras, or even a desktop editing setup for more complex projects.
Conclusion
Becoming a professional video editor using KineMaster is an attainable goal with the right approach. The app’s combination of simplicity and advanced features provides an excellent platform for learning and growth. By mastering basic techniques, exploring advanced features, and continuously practicing, you can develop your skills and eventually transition to professional video editing. Whether you’re creating content for social media or aiming for a career in video production, KineMaster can be your first step toward success in video editing.


